Hot Weather Hiking Tips

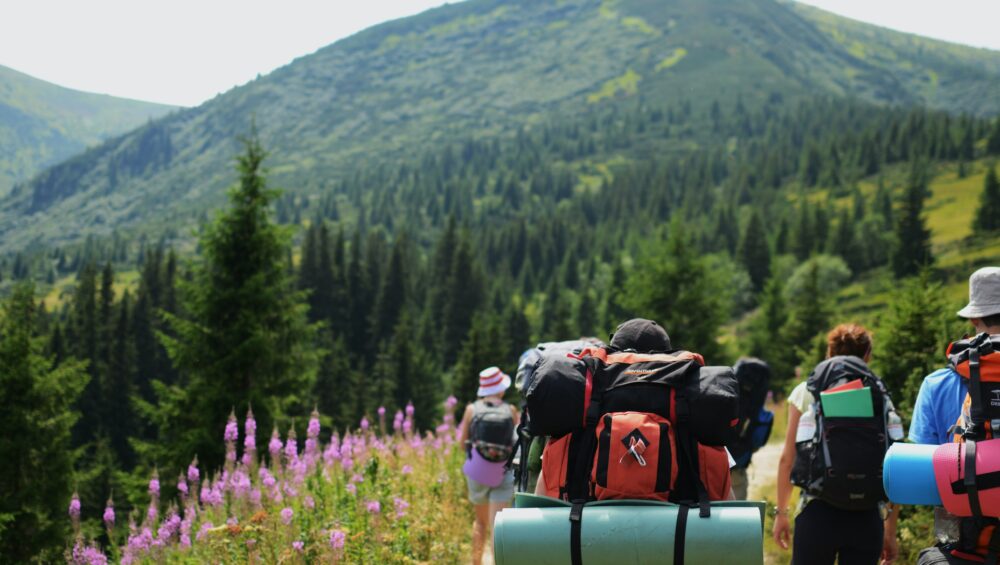
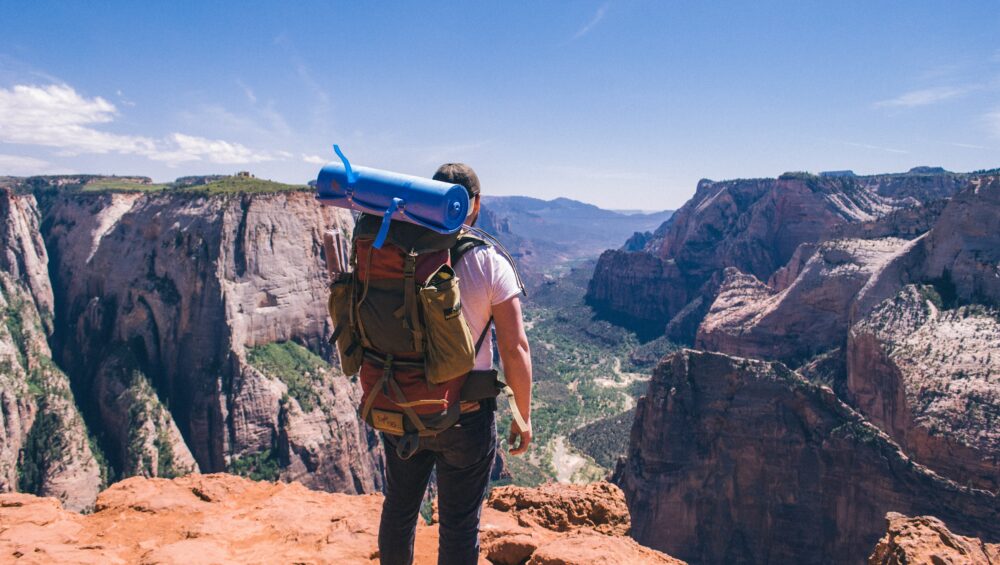
If you are looking for some fun summer adventures, there are plenty of things to do in the Colorado Springs area. That said, there may be some hot days ahead, and it is important to know how to stay comfortable and safe while hiking in extreme temperatures. We’ll go over the best hot weather hiking tips so you can get on the trail and enjoy a safe and fun time.

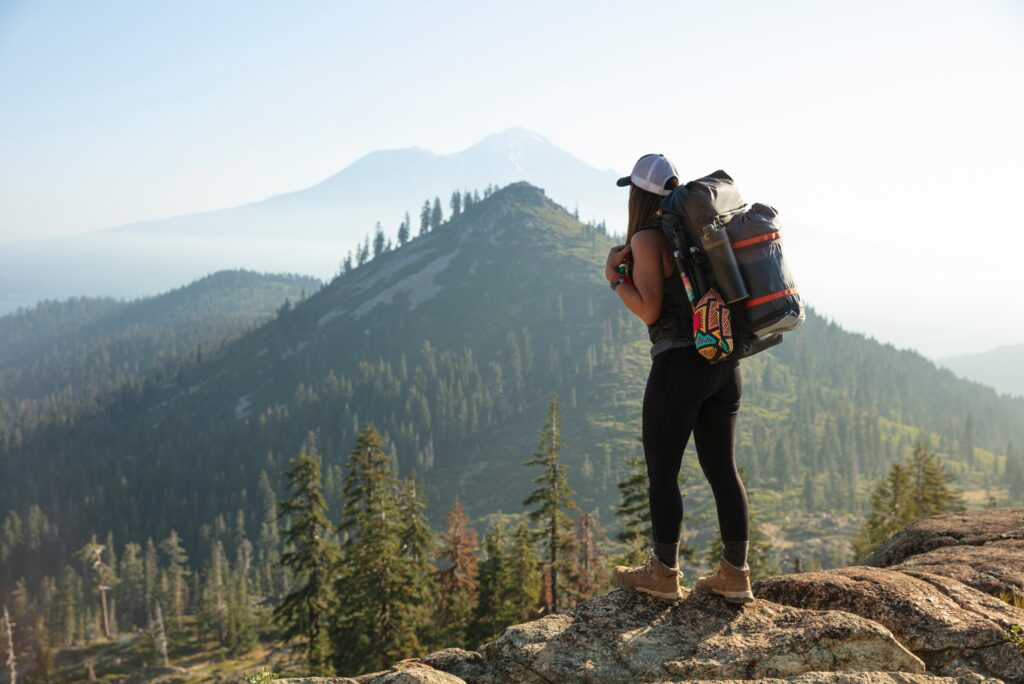
The Right Clothes for Hot Weather Hiking

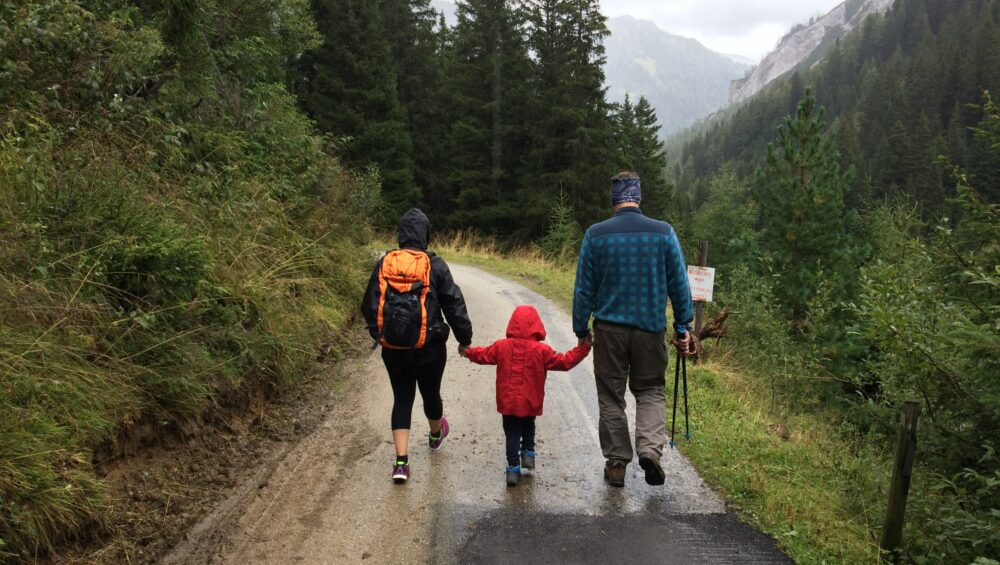
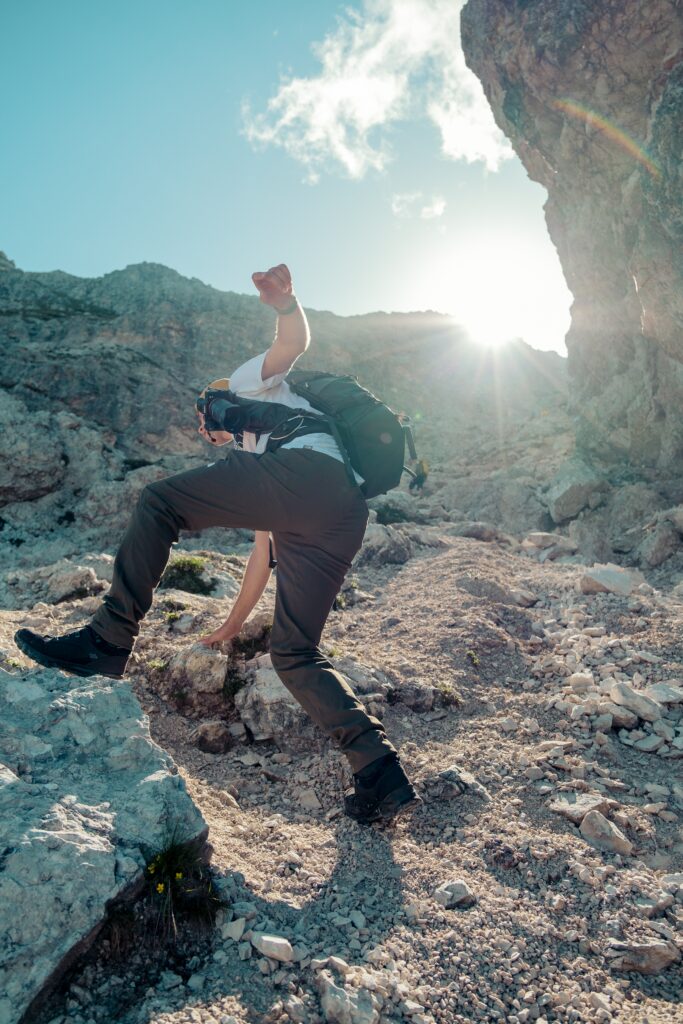
It’s important to dress properly for the weather. In hotter climates, you will be tempted to wear less. But you also need to consider the sun exposure and the potential for sunburn. The best option is breathable and lightweight fabrics. Also, some hiking clothes have vents for those warmer months. Consider finding hiking clothing with these helpful little zippers! 

I always avoid cotton when hiking because I don’t like feeling wet. While the moisture can help cool you down in the summer, it can also be dangerous if the weather drops suddenly and you don’t have a clean, dry shirt. Temperatures in Colorado Springs can change quickly, especially as you gain altitude. The area is also known for afternoon rain, so keep this in mind as you dress and pack dry alternate clothing. 

The same definitely goes for socks. Having wet socks during any season is a surefire way to end up with blisters since damp skin is more susceptible to chaffing. Grab a pair of lightweight wool socks and breathable hiking boots. Keep in mind that in most cases, breathable and waterproof do not go together. Most waterproof hiking boots are stuffy, and it can be hard for your feet to stay dry when you sweat in such boots. If this is the case, carry a change of socks on your trip so you can stop, let your feet dry out, and change socks.

Wear Light Colors

It is worth noting that light colors do not absorb sunlight the way dark colors do. Keep this in mind when choosing your dry-fit shirt for the hike, and you will notice that you stay a little cooler. Next time you’re shopping for hiking clothes, instead of black, opt for white, tan, or khaki.

Wear UPF-rated clothing

While all clothing blocks out some of the sun’s rays, there is the option of wearing specially designed clothes that have UV protection. This is a great option for people with fairer skin or hikers out for a long day. Look for clothes with a UPF rating to ensure skin protection on your hike.

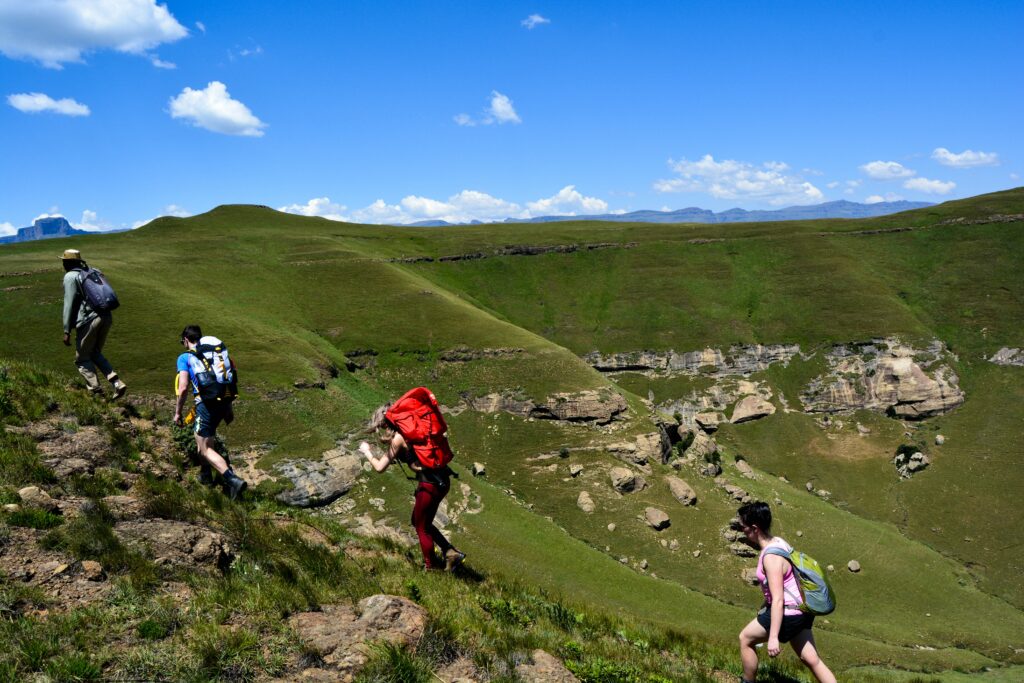
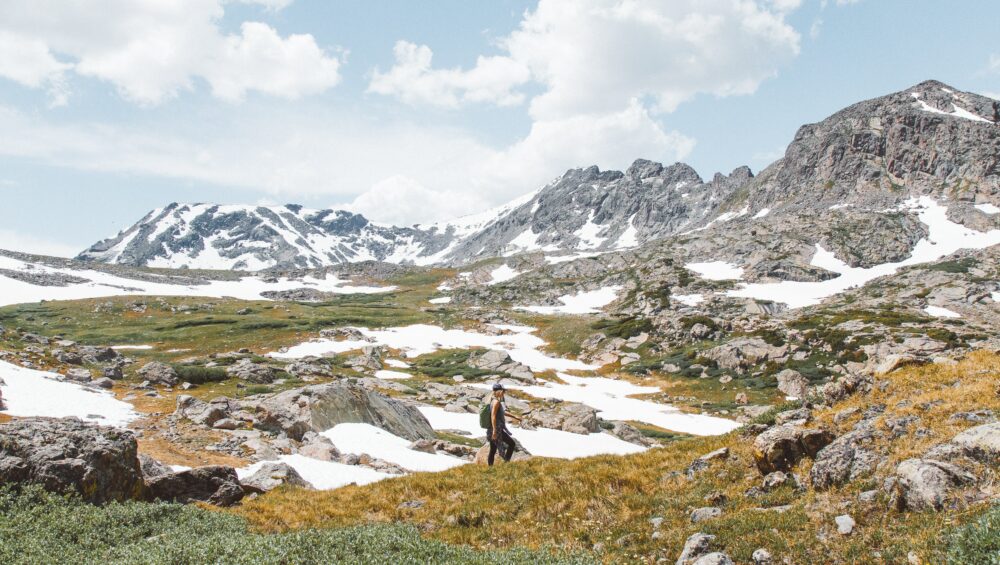
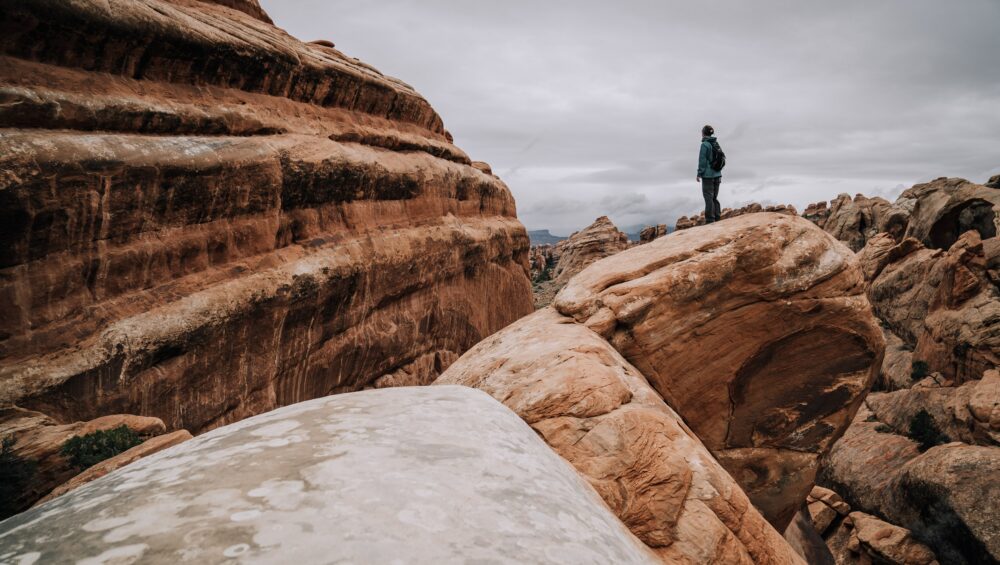
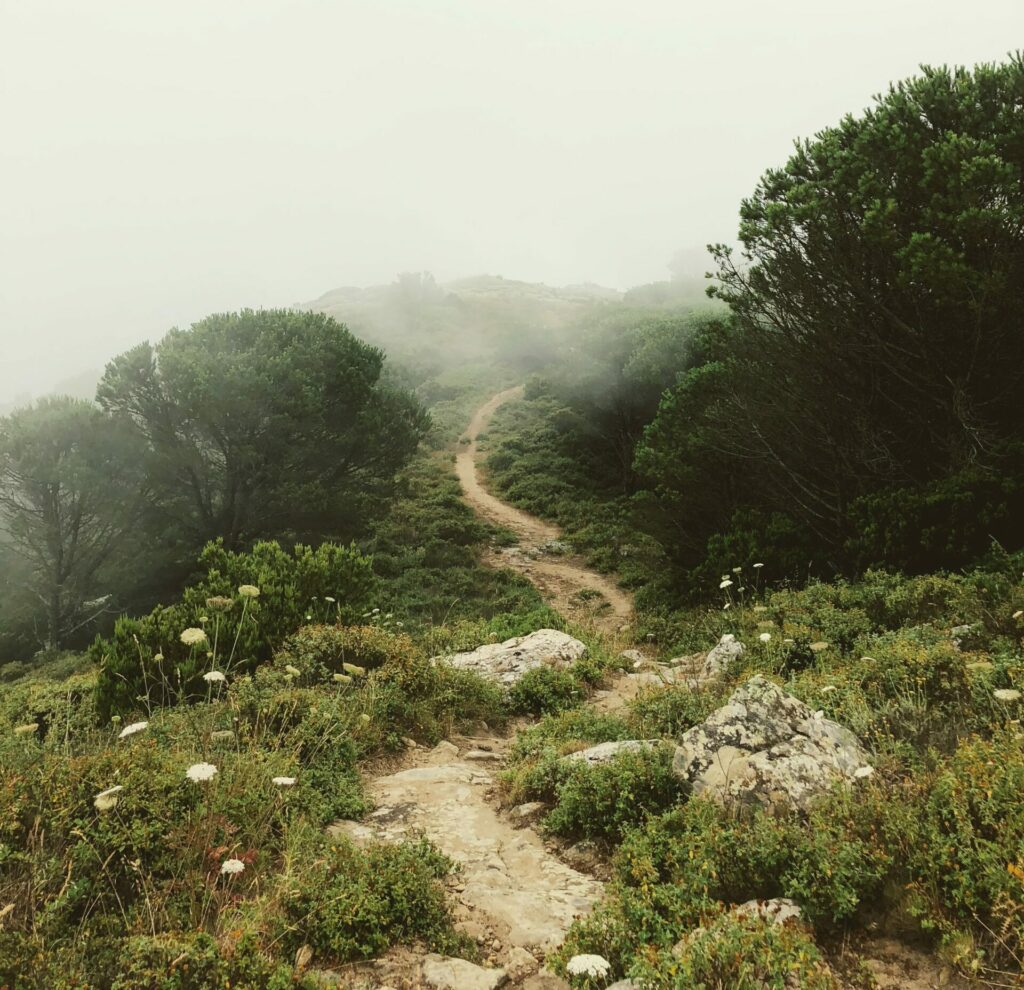
The Best Places to Hike in Hot Weather

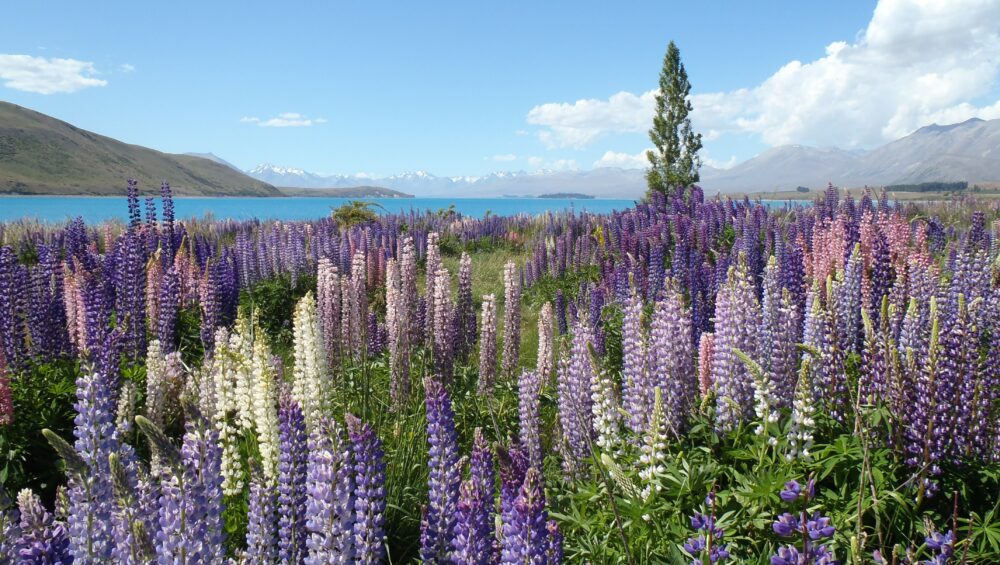
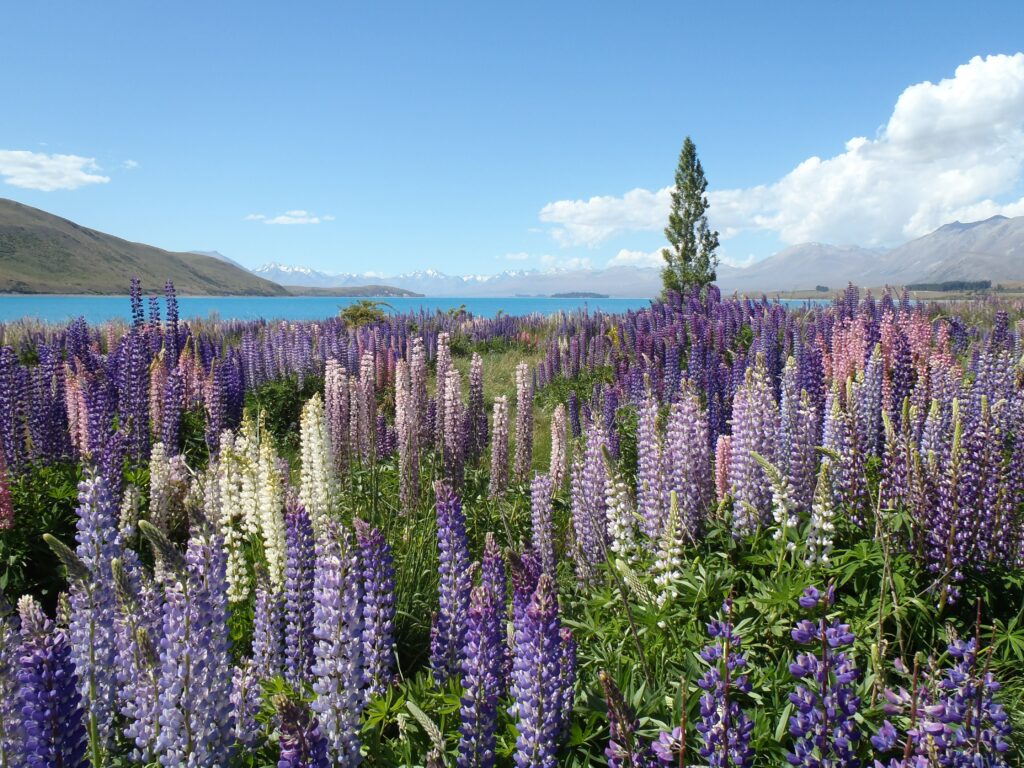
If you are planning to go out despite some steamy conditions, there are a few ways to ensure a more comfortable time. One way is to find a hike near a body of water. You can benefit from a nice cool breeze, and you can wet a bandana to cool you down on the trail.

It is fairly obvious, but hiking in shady spots is a must in hot weather. Staying out in the sun too long at the exertion level hiking requires can be dangerous. If you start feeling the heat, pull over in the shade until you feel your body temperature come back down.

Photo by Hans Ott on Unsplash

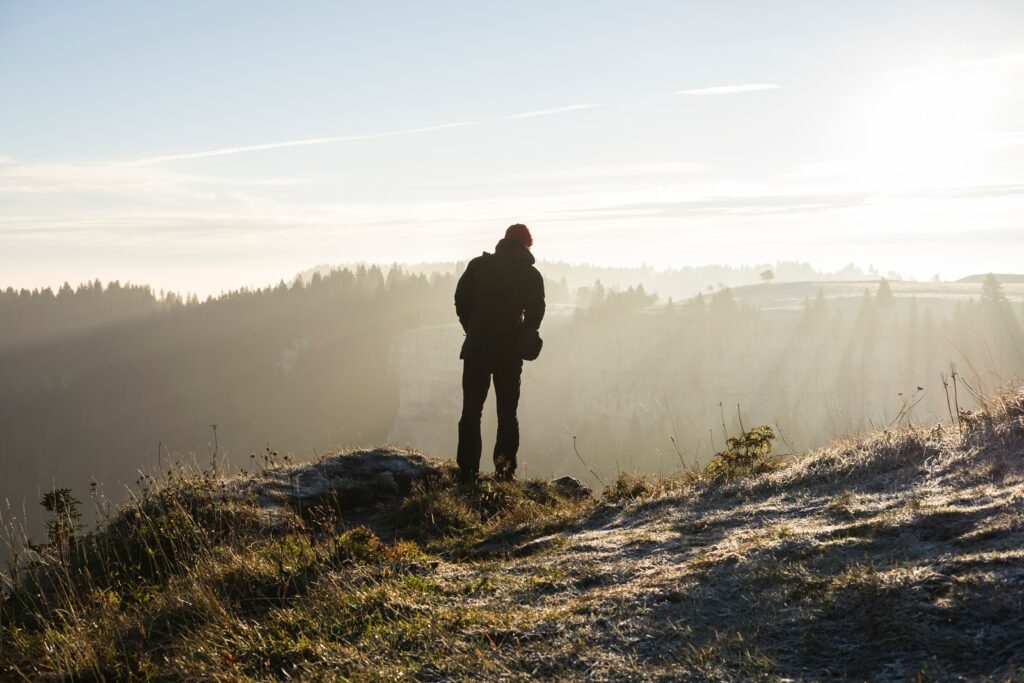
The Best Times to Hike in Hot Weather

Another way to avoid overexposure is by picking a good time for your summer hike. The hottest time of the day is between noon and 2 pm. You can get an early start or consider an evening-time hike to avoid the worst of the hot weather. 

Staying Hydrated During Hot Weather Hiking

The Importance of a Hydration Pack

Keeping your hydration levels steady is essential when hiking in hot temperatures. One thing to note is that you will stay better hydrated with a hydration pack rather than a water bottle. It is easier to reach for, and you can take a sip without pulling over on the hike and fishing out your water bottle. 

How Much Water Should I Drink on a Hike?

When hiking in hot temperatures, you need to account for a few factors. You can’t just drink what you normally would when sitting at home, or even on a more temperate hike. You will be sweating, and the temperature and humidity affect how much water you need to take in. 

A general recommendation is about a half liter of water per hour of moderate activity in moderate temperatures. Half a liter is about 16 fluid ounces, if you have a water bottle with measurements on it. What this means in hot weather hiking is a gulp or two every five to ten minutes. Keep in mind the saying that if you feel thirsty, you’re already dehydrated. Your body generally knows when you need fluids, but on a hike, it’s important to stay on top of this and not get to the point of feeling thirsty.

Don’t Forget about Salt!

One dangerous mistake hikers make is drinking just water. You should try to drink enough to make up for what you are sweating, but regular water is not the same as what we sweat. Our bodies need electrolytes, aka salt. It is possible to drink too much water and be “overhydrated.” This is just as dangerous as dehydration, so make sure your water consumption is balanced. It is also a good reason to consider not hiking alone in dangerously hot temperatures. If you want to stay safe while hiking alone, be sure to tell someone where you are going, carry the ten essentials, and know your limits. 

There are a few ways to add salt to make sure you don’t overhydrate on water alone. You can get salt tablets or “hydration tablets” that dissolve in water in effervescent and fruity flavors. You can bring along a sports drink that has a healthy mix of electrolytes. You can get a trail snack like salted peanuts, pretzels, or granola bars. 

Final Thoughts

Unfortunately, climate change is causing more extreme temperatures. We need to adapt and learn how to stay safe in these hotter months so we can continue to enjoy the great outdoors. Wearing weather-appropriate clothing, using sunscreen, and staying properly hydrated are all key ingredients in safe and comfortable hot weather hiking. Be sure to know your limits, take breaks in the shade when needed, and use a wet hat or bandana to cool off along the way. You can also join a guided hike for practical, on-trail tips for hiking safety. 

What is Good Hiking Etiquette?

Are you hoping to enjoy the summer weather on some hiking trails? If you are new to hiking, there are a few things you should know before you go. Hiking etiquette is one way to ensure safety on hiking trails, and these introductory tips will help you negotiate with any other hikers you may encounter on your journey. 

Right of Way

The most important part of trail etiquette to keep in mind is the principle of Right of Way. Right of Way on a trail dictates who should yield and let others pass. Not only is Right of Way about being respectful and friendly, but it is also about keeping the trail safe for everyone.

The three main groups you might encounter on a hiking trail are hikers, bikers, and horseback riders. (In winter weather, you may also find cross-country skiers, snowshoers, or snowmobile riders, and you can read more about snowy trail etiquette here.) 

Photo by Vishnu Prajapati on Unsplash

Trail Etiquette around Horses

It is important for everyone to always yield to horses and other pack animals, as they can scare easily. If you encounter a horseback rider on your hike, step to the side to give the animal plenty of room to pass on the trail. Let the rider know of your presence as early as possible, and follow their lead since they know their animal best.

Trail Etiquette Near Mountain Bikers

Bikers yield to both hikers and horseback riders. Bicyclists need to be aware of their surroundings at all times, bike within their abilities, and keep control of their bikes around hikers. That said, one rule of hiking etiquette is to be aware of the trail you are on. There are mixed-use trails and trails specifically for mountain bikers, e-bikers, etc. If you find yourself accidentally hiking on a single-track mountain biking trail, you need to be careful to avoid causing a collision.

Trail Etiquette with Other Hikers

Finally, there are suggested rules with regard to Right of Way between two hikers. Downhill hikers should always yield to uphill hikers. This rule is kind to those hiking up a hill in order to allow them to keep their momentum. It is easier for downhill hikers to stop and move to the side. Finally, I try to always yield to hikers with dogs or small children in order to avoid separating a group or causing confusion.

Passing on the Trail

Another rule of trail etiquette suggests the best way for hikers to pass others on the trail. As noted, providing other hikers advance notice of your presence is the best way to avoid an accident. It is also a good way to create a friendly environment for everyone to enjoy nature. Horses and pets may scare easily, so letting owners know you are coming upon them is important for everyone’s safety. 

If the trail is wide enough, you can simply announce that you are passing on whichever side, similar to biking etiquette. If you are hiking on a narrow trail or the group in front of you is large, you may need to ask “May I pass” and wait for the group to move. 

Photo by Dannii Coughlan on Unsplash

Leave No Trace Principles

When yielding space to others on a hiking trail, you want to keep the principles of Leave No Trace in mind. It is always preferred for hikers to stay on the trail when possible in order to preserve the surrounding landscape. If you see other hikers coming, especially coming up a hill, you can choose the widest spot on the trail and step aside early. If you need to step off-trail, avoid stepping on fragile foliage or wildflowers. Find the most durable surface, like a rock, to step on instead. 

Trail Etiquette for the Trail

Leave No Trace means protecting nature and minimizing human impacts. Look at the trail conditions before you leave, and if you see that it is wet and muddy, consider rescheduling your hike. Choosing to continue in suboptimal conditions could be dangerous and can easily damage the trail. Sometimes hiking etiquette means being respectful of nature and finding a different place to hike. 

Hiking with Kids

Taking the little ones hiking is a great way to introduce them to nature and get some exercise. If you are wondering if you can take kids hiking, I believe you absolutely should! That said, don’t forget to teach them these important rules of trail etiquette. It is essential for children’s safety that they yield properly to horseback riders. 

It is also important to teach your kids to be good stewards of the land. Teaching Leave No Trace principles to your children on hiking trips will help them learn early how to respect nature and take care of our planet. Make sure your little ones know that yielding off-trail does not give them free rein to trample the surrounding landscape. Keep kids within trail boundaries, and make sure they know to leave nature intact.

Hiking with Pets

Like most dogs, your furry friend probably enjoys joining you on the trail. If you plan to bring your pet on your next hike, there are a few other trail etiquette rules you should keep in mind. First, in most instances, you should keep your dog on a leash. Unless you are in a specifically designated no-leash area, this is best for everyone’s safety. If your dog happens upon a biker, it could easily cause an accident. Dogs and their barking can also startle horses easily. Therefore, keep your dog close to be respectful to all other trail users. 

Next, try to keep your dog’s barking to a minimum. This is easier said than done, but hikers love the peace and quiet of nature, and barking can disturb both wildlife and other visitors. Finally, keep your dog close to the trail. This Leave No Trace principle applies to humans and pets alike. You do not want your dog eating random plants, and hikers do not want to find their surroundings trampled, dug up, or destroyed. Train your dog to be a good hiking companion, and you will ensure a safe and enjoyable experience for everyone. 

Final Thoughts

Hiking etiquette is about respect for others and respect for nature. It is also about safety. Most hikers know the Right of Way protocols, and they will be expecting you to behave accordingly. Being friendly and courteous on the trail will foster a safe and pleasant atmosphere on your hike.


How to Bear Proof Your Campsite

Colorado is home to many interesting and exciting species of wildlife, and that includes black bears. If you are planning to camp in bear country, there are some things you should know in order to be well prepared. We’ve compiled a list of the most important tips for bear proofing a campsite as well as how to stay safe while hiking in bear country.

Why Bear Proofing is Important

There are an estimated 16,000 black bears in the state of Colorado. Though they are not endangered, it is still important to protect them. When bears get into campsites and learn they can find food around humans, it becomes a risk for everyone. Even though black bears do not typically attack humans, they will still be put down if they start frequenting campsites. It is essential to bear proof your campsite to avoid bear encounters and keep these animals safe.

Photo by T L on Unsplash

How to Bear Proof a Campsite

What Needs to Be Bear Proofed

The main objective of bear proofing is to prevent bears from smelling anything near your campsite. Keep in mind that this includes more than just food! Scented hygienical products like toothpaste, mouthwash, sunscreen, bug repellent, hand cream, and deodorant should be included in this group. Don’t forget about anything that might have the scent of food on it, including trash and cooking supplies: food remnants, wrappers, pots and pans, utensils, gum, etc should be included. As you think about everything in your backpack, consider anything scented that you have with you. It all needs to go in a bear bag or food locker.

Methods for Bear Proofing Your Campsite

Now that we’ve discussed what to bear proof, let’s cover how. There are a few methods for keeping bears out of campsites. The easiest would be if your campsite has a bear locker. These metal food storage lockers are impossible for bears to get into, and you’ll often find similar mechanisms for campsite trash receptacles. If these are not available, you will need to hang a bear bag from a tree to keep it out of a bear’s reach.

How to Hang a Bear Bag

Bear bags are a great way to keep odorous and enticing items away from bears. You can get waterproof and odor-proof bags or, at minimum, double bag all your goods. Seal everything in a bag with a string or rope so you can hang it from a tree. Once you choose a tree with a sturdy enough branch, throw the rope over using a stick or something weighted. Then, raise the bear bag and tie the rope off around the tree trunk. Bear bags should be hung at least 12-15 feet in the air and 6-10 feet from the trunk.

100-Yard Campsite Triangle

One of the best ways to protect yourself from a curious bear is with a campsite triangle. First, make sure you see no evidence of bears, from footprints to clawed trees to scat. Next, you will want to designate a campsite that is at least 100 yards from your cooking site and 100 yards from where you hang your bear bag. Cooking smells tend to linger, especially in clothes. This is why it is recommended to cook away from your tent and change clothes after. Also, remember to camp upwind of your cooking site for the same reason.

Do Not Store Food in Your Car

You should never store scented items in your tent. Some campers might think it is better to sleep with their important belongings, but this is very dangerous as bears can easily enter tents. Similarly, do not store food items in a vehicle. Bears have proven that they know how to break windows, open car doors, etc. If they are able to smell something tucked away in your trunk, you are sure to find your car damaged the next morning.

How to Stay Safe Hiking in Bear Country

Some of the best hiking safety tips, like hiking in a group and not after dark, are helpful for hiking in bear country. Hiking in a group is more likely to alert a bear to your presence before you get too close. If you are hiking alone, playing music or singing are good options for alerting wildlife to your presence and giving them time to move away. When camping in bear country, be sure to use a headlamp at night and check your surroundings before leaving the tent.

What to Do if You Encounter a Black Bear

If you spot a black bear while hiking in Colorado, stay calm. Black bears are not likely to attack unless they feel threatened. There are a few things you can do to keep a bear encounter from escalating into an attack. 

Don’t Run or Yell

First, you want to avoid doing anything that would remind a bear of its prey. Do not scream; rather, talk to the bear in a calm voice with low tones. Avoid running away or trying to climb a tree as these will provoke the bear to chase you. Black bears can climb trees, and they can also run faster than humans, so these are not good strategies for de-escalating a bear encounter. If you are hiking with kids, you should pick them up, as a bear might interpret small children as prey.

Evaluate the Scene

One important thing to recognize during a bear encounter is the presence of cubs. If you see a mother bear with cubs, you need to be extra cautious. A mother bear will not hesitate to attack if she perceives her cubs are threatened. The best thing to do is to note the positions of all the bears and avoid stepping between the mother and her cubs.

Back Up Slowly

If the bear is to the side of your trail, you may be able to continue your hike by walking slowly. Never walk in the direction of the bear; walk sideways or backward so it does not feel threatened. If your only option is to backtrack, then do so and wait for the bear to leave. Always make sure the bear has ample space and an exit route away from your position.

Escape to Safety

If a black bear enters your campsite, get into your car and lock the doors. Hiding in a tent is not suggested, as bears can get into tents if motivated to do so. The final resort for protection against attacks is bear spray. Check local regulations of your hiking or camping sight to see if it is permitted. If so, carry the bear spray on the outside of your backpack so it is always easily accessible.

Final Thoughts

Now that you know these tips for hiking and camping in bear country, you will be both safer and more able to protect the local bear population. Bear proofing a campsite might seem like a lot of work, but it is often required by park regulations, and it is important for everyone’s safety. Kids can enjoy the challenge of hanging the bear bag, and everyone can rest easy knowing they aren’t attracting wildlife to the tent.

What Does Leave No Trace Mean?

If you’ve spent time in the outdoors, you’ve probably seen the phrase “Leave No Trace.” You might guess that the philosophy has to do with not littering in national parks, but it includes much more. There are seven key principles to Leave No Trace that every hiker and backcountry camper should know. 

What is the point of Leave No Trace?

The goal of Leave No Trace is to ensure that the wilderness stays natural and beautiful for generations to come. Imagine if you went on a hike and found garbage or couldn’t go because the path had been damaged. The principles of Leave No Trace help us to minimize our impact, protect nature, and be stewards of the land. 

What are the seven principles of Leave No Trace?

Now that you understand the reasoning behind Leave No Trace, let’s discuss the seven principles. Keep these in mind as you explore public spaces and interact with nature in your day-to-day life.

Plan Ahead and Prepare

As starts any good outdoor adventure, the first step is preparation. Why? Poor trip planning can lead to decisions made out of necessity that do not follow Leave No Trace principles. For example, if your group gets lost, you may end up camping on an unstable site or building a fire somewhere with fire bans. 

It’s important to prepare for any outdoor adventure by checking the weather forecasts and determining your route. Make sure you know how to check trail conditions for closures or obstacles. Procure the necessary maps, and be sure to check land boundaries, permit requirements, and local regulations. This might sound like a lot of work for a day hike, but a small investment of prep time can save time, injury, or unpleasant conditions on your trip.

Travel and Camp on Durable Surfaces

The idea of durable surfaces is an important one for the philosophy of Leave No Trace. Most places you go for a hike will have trails laid out. You might see logs or stones laid out to mark the trail boundaries. Staying on the trail is essential, not just to avoid getting lost. It also keeps the surrounding vegetation safe from getting trampled. 

If you come across a puddle in the middle of your trail, you may need to skirt it for safety reasons. However, try to stay as close to the trail as possible rather than venturing way out to avoid getting wet. This ties into the first principle of preparing well because you will want to know about wet trail conditions to wear the correct hiking boots.

There are times when it is necessary to walk off-trail, specifically to find a private place to go to the bathroom. In this case, you should keep in mind the durability of different surfaces. It is always best to walk on rocks, gravel, or sand. Grass, especially dry grass, tends to be resistant to trampling, but other vegetation is not. Try to avoid walking on vegetation or soil when possible. If you are in a group or see that someone else has walked the same way, spread out. The fewer footsteps in an off-trail area, the better. 

The same techniques apply to camping. Most parks will have designated campsites. It is important to follow the park’s regulations and camp in the correct location. This keeps the human impact concentrated in one area, preserving the rest of the park in its natural state. 

Dispose of Waste Properly

There are two types of waste to consider with this Leave No Trace principle. The first is human waste and the second is all other garbage. When using the bathroom in the woods, it is important to follow protocols to protect drinking water. First, you should be at least 200 paces from any water source, to avoid contamination. Pick an inconspicuous spot that other hikers are unlikely to visit. Second, the hole you dig should be 6-8 inches deep, and after you are done, cover it with natural materials. Finally, toilet paper, sanitary products, and wipes should be packed out. You can bring along a plastic bag with a spoonful of powdered bleach or baking soda to take care of the odor. 

It is important to pack out all trash. Food packaging, uneaten leftovers, etc, should all be hiked out to a trash can. Burning trash can be dangerous to the atmosphere and risk wildfire. When packing up a campsite, do a sweep, where every member of the group spreads out and walks together across the site. Look for any trash, even organic matter like banana peels, and make sure the campsite looks nicer than when you arrived.

Leave What You Find

It can be so tempting to take a souvenir from your hike, be it a small stone, leaf, or flower. However, if everyone had the same thought, there would be no nature left to enjoy. Not to mention that you might be taking a bite from a wild animal or a stick for a bird’s nest. It is better to take a picture, enjoy the moment, and move on. 

Similarly, many people are tempted to leave their mark. We’ve all seen trees and rocks marred with hearts and initials. While it might feel fun at the moment, keep in mind that future visitors will not get to enjoy a sense of unspoiled nature if the impact of humans is obvious. More importantly, cutting into a tree’s bark can leave it susceptible to fungus that will ultimately rot and kill the tree.

Minimize Campfire Impacts

Campfires are such an iconic part of the camping tradition. Unfortunately, they also consume firewood, risk forest fires, and can leave behind unsightly marks on the landscape. Camp stoves are a great option for cooking as they are lightweight, flexible, and leave no trace. You should only consider building a fire if your campsite has a fire ring and if there is firewood for sale.

You should not gather your own wood unless it is an emergency because dead trees are often home to animals and cutting branches does not follow Leave No Trace principles. It is absolutely essential never to bring firewood from elsewhere to your campsite. As the saying goes, burn it where you buy it. This is an important Leave No Trace principle because firewood may contain critters or diseases that can contaminate and infest local trees. Finally, never leave a fire unattended, and be sure to fully extinguish it with water when you leave.

Respect Wildlife

Respecting wildlife is an important Leave No Trace principle for your own safety, the safety of the animals, and the safety of future visitors. While it is exciting to see wildlife in nature, be sure to keep your distance and observe quietly. Unless your safety is jeopardized by a bear encounter, do not attempt to scare the animal away. 

Do not approach or feed any animal. Animals that get accostumed to human contact or learn that humans will feed them can become dangerous. A harmless encounter with a creature near your campsite could start a problematic pattern with an animal and lead to a campsite closure or an animal’s death. This principle is why it is so important to keep food, toothpaste, deodorant, etc in odor-tight bear-proof containers.

Be Considerate of Other Visitors

The final principle of Leave No Trace has to do with ensuring other hikers and campers enjoy their time in nature. This means keeping noise levels down, being responsible for your children and pets, and not leaving behind evidence that you were there. Finally, be sure to follow trail etiquette, moving aside for horseback riders and giving priority to people going uphill.

Final Thoughts

There are so many amazing hikes near Colorado Springs. Being a good steward of the land will ensure that future generations can appreciate our beautiful state as much as you get to. Learn and follow the seven principles of Leave No Trace and help keep nature natural for everyone.

PLBs vs. Messengers – What You Need to Know For Hiking

As we enter the warmer months, you are surely excited to get back in the saddle and hit the trails. Beginner cyclists and mountain bikers need to be aware that you will need more than just a helmet and water bottle. There are a few biking tools you should carry with you at all times. A simple bike repair kit can keep you from a serious inconvenience on the trail. We’ll go over the essential bike maintenance tools so you can assemble a basic bike repair kit for your trip.

Are you considering getting an emergency beacon or messaging device? These are both great pieces of safety equipment to have if you are a serious hiker. While it is nice to unplug and be in nature, limited connectivity is a serious risk in the event of an emergency. A satellite-connected device can literally be a lifesaver if you need to send a distress signal. If you are looking to learn more about both and figure out which to get, we’ve got a complete breakdown of PLBs vs Satellite Messengers right here.

What are Personal Locator Beacons?

Personal Locator Beacons (PLBs, also called emergency beacons) are the more simple of the two devices. PLBs solely have the capability of sending your location to authorities. Unlike satellite messengers, they do not allow you to send messages to anyone else. Finally, because of their simplicity, once the distress signal is activated, there is no way to recall it.

How do PLBs work?

An emergency hiking beacon is very easy to use. If you find yourself lost in the woods or in an emergency and need to send a distress signal, you simply point the antenna up and turn the device on. This automatically activates the signal, which gets transmitted via satellite to local search and rescue operations. They will then have your exact location via GPS. Because PLBs need to be registered with the authorities, they will also be able to see whatever personal information you provide, such as emergency contact numbers and important medical conditions. Many PLBs also have regular and infrared strobe lighting to assist rescuers in finding you.


How long do PLB batteries last?

Personal Locator Beacons use long-lasting lithium batteries. Because they remain dormant until you turn the device on, it should last for up to five years. These batteries are required to be extra strong so that once turned on, the beacon remains strong for up to 24 hours. Unfortunately, they do need to be mailed back to the manufacturer in order to replace the battery, and this process can be expensive.

What are good Personal Locator Beacon brands?

ACR Electronics is a popular brand for both PLBs and Satellite Messengers. Their products are durable and highly rated, if not a little expensive. Ocean Spray and SpotX are two other brands of emergency beacons to consider.

What are Satellite Messengers?

Satellite Messengers are more capable devices, and as expected, can be more expensive. Not only do they provide the same functionality as PLBs, but they also have the ability to send and receive messages to friends and family. Some models allow communication with rescuers, which also makes it possible to cancel a distress signal.

How do Satellite Messengers work?

Satellite Messengers are similar to personal locator beacons but with more features. Satellite messengers allow users to text anyone, like family and friends. Some models also have color display screens, GPS navigation, and weather reports. They may also have Bluetooth capability to connect to your cell phone or fitness watch. As expected, these added features mean that the prices of satellite messengers vs PLBs are much higher in some instances.

How long do Satellite Messenger batteries last?

Unlike PLBs, satellite messengers have easily rechargeable batteries. Depending on the brand and model, the battery life when turned on may be up to a week, and asleep or in “expedition mode” up to three weeks. These longer battery-life models are a great option for extended backpacking trips.

Why do Satellite Messengers require subscription plans?

Because satellite messengers have more robust features and communication abilities than the simplicity of emergency beacons, they do require users to pay for a monthly subscription. This can be a major expense and is one reason many people opt for the more simple emergency beacons. That said, if you spend a lot of time in remote areas with limited or no cell reception, you may find it worth it to have GPS navigation and be able to communicate with your loved ones.

What are good brands of Satellite Messengers?

There are a lot of options on the market for satellite messengers, and the prices vary considerably based on the display, capabilities, and more. Depending on what features you want and what subscription you are willing to pay for, you can narrow your choices down to a few good options. The most popular Satellite Messengers are available by Garmin, ZOLEO, and SpotX.

Why can’t I just use my phone?

Many people are perfectly fine having just a cell phone on a short day hike. However, if you’ve hiked enough, you have surely experienced a drop in signal somewhere along the way. For serious hikers who like to take multi-day trips or hike miles from civilization, a cell phone will not be good enough. Cell signals can be unpredictable, and your phone could get water damaged, lose battery, or break in an emergency. PLBs and satellite messengers are much more durable than cell phones, more rugged, and typically waterproof to a certain depth. The peace of mind that comes with having a sure-fire form of communication can be worth it for many hikers.

When should I send a distress signal?

It is important that all hikers prepare well for their journeys. This includes packing all the essential safety gear including fire starters, emergency shelter, and first aid supplies. Distress signals should only be sent in true emergencies. It would be appropriate to use search and rescue services if your life is at risk or if you are unable to get back to safety on your own. Keep in mind that many states have penalties for frivolous use of rescue services, so take all the measures possible to prepare against emergencies. This includes not hiking in dangerous weather conditions, on unmarked trails, or in areas that have been closed off by park officials.

Can I hike alone?

If you are wondering if it is safe to hike alone, the answer is sort of. There are certain times when it would not be safe to hike alone, such as in bad weather, at night, or in an area with dangerous animals. If you do want to hike alone, it can be helpful to start small on a trail you know. Building up to longer solo hikes will help you feel more comfortable on the trail. The most important things to do when hiking alone are to pack all essential gear, carry multiple forms of navigation, and be sure to tell someone your planned route.

Final Thoughts

Personal Locator Beacons and Satellite Messengers are two helpful pieces of safety equipment for avid hikers. If you are looking for this extra peace of mind and trying to decide on a PLB vs a Satellite Messenger, consider the different features you would like and the costs. Either is a much safer option than just hiking with a cell phone, so you really can’t go wrong. Happy hiking!

Best Spring Hikes in Colorado

There is no better way to celebrate the coming of spring than to spend time outdoors in the warming weather. Some of the best hiking trails in Colorado are made even better by the beautiful wildflowers. Seeing these colorful blooms will get you pumped about the new season and all the spring activities around Colorado Springs. Here are a few of our top spring hikes in Colorado.

Canyon Loop Trail at Deer Creek Canyon Park

Length: 3 miles

Difficulty: Easy

Address: 13388 Grizzly Dr, Littleton, CO 80127

Trail Map: here 

Just outside Littleton, Colorado – an easy drive from Colorado Springs – is Deer Creek Canyon Park. This space is great for an easy day hike, and it gets vivid colors during the spring and summer. It is tucked neatly into the foothills, providing both nice views of the surrounding mountains and some peace and quiet from nearby civilization.

You can hike a loop via the Meadowlark and Plymouth Creek Trails and enjoy excellent views from the mild 500-foot elevation gain. Meadowlark is a hiker-only trail, but Plymouth Creek does allow bikers. Just keep this in mind as you explore. You can extend the hike by continuing up Plymouth Creek Trail, though you will have to turn back at some point, and you may find it a steeper incline. 


South Mesa Trail at Boulder Open Space

Length: 4.4 miles

Difficulty: Easy to Moderate

Address: 3633 Eldorado Springs Dr, Boulder, CO 80303

Trail Map: here 

This hike is short in mileage but does manage nearly 800 feet of elevation gain, making it a slightly harder easy hike. The benefit of this is that you will get up well into the foothills and earn sweeping views of the surrounding plains. In the spring and summer, the area is covered with vivid Colorado wildflowers. There are also excellent views of the nearby Bear Peak, South Boulder Peak, and El Dorado Mountain.

To hike here, there is a parking lot right at the trailhead and another across the street for the Doudy Draw Trailhead if it gets crowded. If you want to extend the hike, Shadow Canyon is a great way to get in a tough workout and walk the saddle between Bear and South Boulder Peaks. This is a beautiful trip that will excite any nature lovers. While this is a 90-minute drive from downtown Colorado Springs, you will find it an excellent day trip to make in the spring. This is one of the best spring hikes in Colorado thanks to astounding views and colorful, unspoiled land. 

Spruce Mountain Trail at Spruce Mountain Open Space

Length: 5.5 miles

Difficulty: Moderate

Address: 13415 Spruce Mountain Road, Larkspur, CO 80118

Trail Map: here 

Spruce Mountain Open Space offers a beautiful wooded hike that summits to a flat top. The trail is moderate in difficulty, in large part due to the 600 feet in elevation. At the top, you will be rewarded with gorgeous views of Pikes Peak, the Palmer Divide, and the surrounding area as well as the pride of completing a challenging ascent. Between the natural limestone formations and the pine and fir forests, this park easily makes any list of the best hiking trails in Colorado. It is made even better by the explosion of foliage and wildflowers in the spring, so don’t miss this one.

This is a quick trip up from Colorado Springs, just north of Palmer Lake. Keep in mind that horseback riding and mountain biking are both allowed on the Spruce Mountain Trail, so be sure to follow proper trail etiquette on your hike. The park has toilets and water and allows dogs on leashes. It is also a great place to see wildlife near Colorado Springs. All in all, it makes for a great day hike and an excellent way to ring in the coming of some warmer months.

Carpenter Peak Trail at Roxborough State Park

Length: 6.5 miles

Difficulty: Moderate to Hard

Address: Parking Lot, Roxborough Park, CO 80125

Trail Map: here

Roxborough State Park is a gorgeous 4,000-acre park northwest of Colorado Springs. It is home to a range of wildlife, including a variety of species for birdwatchers, and beautiful explosions of foliage. You can access the park via East Roxborough Drive, and you will find a series of parking lots along with restrooms and the trailhead for Fountain Valley Overlook. A short walk south on Willow Creek Loop and you will intersect with Carpenter Peak Trail.

The Carpenter Peak Trail is a great medium selection in this park which has nearly 14 miles of hiking trails in total. This trail can be a bit steep at times and definitely falls within moderate difficulty for the top spring hikes in Colorado. It covers about 1,000 feet of elevation gain and includes amazing panoramic views at the summit. From the highest point of the park, you will be able to enjoy outstanding views of Denver to the northeast and Pike National Forest. 

Red Rock, Lion, Section 16 Loop at Red Rock Canyon Open Space

Length: 11 miles

Difficulty: Hard

Address: 530 S 31st St, Colorado Springs, CO 80904

Trail Map: here 

Red Rock Canyon Open Space is a popular place year-round for Colorado Springs residents and tourists alike. It features iconic red rock formations, parallel ridges, eroded canyons, a quarry, and more. There is no shortage of wildlife and interesting geology to spot at any time of year. However, it is an extra treat in the spring and summer as it is home to a variety of colorful wildflowers. You can practice your wildflower identification here, where you will be sure to spot Indian Paintbrush, Rocky Mountain Bee Plant, and more. 

For an easier version of this hike, you can skip Manitou Section 16 and do a shorter loop just around Red Rock and Lion trails. This 3-mile hike is rated as moderate and still provides excellent views of the surrounding landscape. For either of these options, you will want to park at the most southern of the three lots, off S 31st Street, which is listed as parking for Red Rock Loop. No matter which trail you choose, you will undoubtedly have a great experience as the whole park houses some of the best hiking trails in Colorado.

Final Thoughts

Colorado Springs is chock-full of amazing hikes and opportunities for outdoor adventure. Once you hang up your snowshoes or skis, it is time to get out the hiking boots. If you are just getting started, you should check out an easy, half-day guided hike. Otherwise, learn how to pack for a day hike, grab a map, and hit the trails. Happy hiking!

Colorado Wildflower Guide – Spring

If you are excited about the coming of spring, you’ll surely want to know how to ring in the season. One great way is to get out and enjoy the blooming Colorado wildflowers. There are so many amazing colors that you can find on the side of hiking trails near Colorado Springs. We are going to go over some of Colorado’s most common wildflowers, what they look like, and where to find them. Wildflower identification can be difficult, but it makes for a great pastime as you enjoy the many hiking trails near Colorado Springs.

Colorado Blue Columbine

We have to start with the Colorado Blue Columbine. This wildflower is ubiquitous around the state, probably why it is the official state flower of Colorado. You may also have heard it called the Rocky Mountain Columbine for this reason. The name ‘blue’ can also be a misnomer, however, as the flowers turn to all white as the plant ages.
You can identify the Colorado Columbine by its star shape. It has five smaller white petals inside and five blue pointed petals underneath that give it that iconic overall star outline. It has a yellow center and can be found in alpine, subalpine, and wooded areas all over the state. Once you have more details on wildflower identification, you can hit the road in search of it all summer long. The best places to head would be Garden of the Gods Park, North Cheyenne Cañon Park, Cheyenne Mountain State Park, or Rocky Mountain National Park.

Bluebells

Continuing with blue wildflowers, the Bluebell is a beautiful Colorado wildflower that can be found in meadows and wooded areas and around streams. They grow in large clusters around the banks of streams, particularly out west in the San Juan Mountains. Wildflower identification for these is pretty straightforward, as they look like small bells hanging down from their stems. 

There are multiple variations, with some known as “Short Style” and others that are “Tall.” Bluebells tend to grow low to the ground and will often be blue, light blue, white, or pink. You can find these attractive Colorado wildflowers on a hike near Pikes Peak or within the Garden of the Gods Park. Both locations, especially Pikes Peak, are beautiful colorful places year-round, with wildflowers in the spring and fall colors in autumn. One excellent place to discover Bluebells would be a day trip to Bluebell Mesa outside of Boulder. They tend to blossom in spring and stick around through summer, making them a long-lasting option for Colorado wildflower spotting throughout a good portion of the year.

Silvery Lupine

One personal favorite in this same color family is the Silvery Lupine. This Colorado wildflower is popular in open meadows and foothills, and you will be able to identify it by its tall blooms that grow out from the leafy bush. Its stems can reach up to three feet, and the compound leaves grow in sets of seven. The blooms of Silvery Lupine are beautiful and impossible to miss or misidentify. 

It is possible to see the Silvery Lupine with more of a purple hue or a lighter, white tinge. They are in bloom all spring and summer long, giving you plenty of time to see them on the trail. They are very popular on the slopes of the Rockies and up north near Breckenridge. 

Indian Paintbrush

If you are looking to get into Colorado wildflowers, this is one you definitely need to know. This showy plant has unmistakable spiky clusters of vivid colors. You are most likely to see them in red or orange, and the shape makes it look like a paintbrush that has been dipped in paint. Because it creates hybrid plants with other wildflowers very easily, it is found in hundreds of different varieties and colors. 

The Indian Paintbrush is best viewed in the summer, and it is easy to find across Colorado and the Western United States in general. One variety, the Desert Paintbrush, is the state flower of Wyoming. Two great places to find this Colorado wildflower are Red Rock Canyon Open Space and Pikes Peak.

Rocky Mountain Bee Plant

This unique Colorado wildflower is another of my favorites. It grows up to four feet tall before forming beautiful pink flower clusters. Each cluster has four flowers and six very long stamens to attract insects. The blooms can appear almost spherical depending on how they bloom. It is a popular plant among insects, including bees, hence the name. Attracting bees and many other pollinators means it helps pollinate nearby flowers, too. One downside is that it is a great attractor by having an unpleasant smell. For this reason, it is also sometimes called stinkweed. 

Wildflower identification of this plant depends on how it blooms between spring and late summer. Studies have found that it is actually closely related to the Mustard plant. To find the Rocky Mountain Bee Plant, you should head to Red Rock Canyon Open Space. The plant also grows often on roadsides and other sunny, open areas.

Fireweed

The Fireweed plant is a vibrant pink plant that grows up to six feet tall. This plant is most visible during summer and fall, and you can learn to identify it based on its four petals and white stamens. The plant grows easily in open spaces and is called Fireweed for its ability to grow quickly after a wildfire. It can also grow after landslides, avalanches, or other natural disasters, and its leaves were used by many native communities to make tea. Fireweed can survive in subalpine elevations, meaning that it is often spotted on hiking trails throughout the state. Some good places to find Fireweed include Indian Peaks Wilderness and Pikes Peak.

There are many great hikes to discover if you want to venture to an area where you can see wildflowers near Colorado Springs. There are even more opportunities for wildflower identification if you are willing to drive a bit. For a nearby day trip, consider surrounding areas like Rocky Mountain, San Juan Mountains, and Crested Butte, which is known as the Wildflower Capital of Colorado. 

How to Train for Hiking and Backpacking

Many beginner hikers make the easy mistake of under-preparing for their journey. I have certainly heard, “If I can walk, I can hike.” But just going for walks around the neighborhood is not the best way to train for hiking. Long-distance hikes, multi-day hikes, and elevation hikes require a more focused training schedule.

If you are coming to Colorado Springs for a hiking vacation and wondering what you need to do to get ready, we’ve got you covered. We will go over all the essentials of how to train for backpacking – including cardio, strength, and flexibility training – so you can get the most out of your trip. Whether you are planning a solo adventure or scheduling a guided hike, this workout regimen will have you in tip-top shape for whatever part of the great outdoors you will conquer. 

Endurance-Focused Cardio Training for Backpacking

At nearly 6,000 feet above sea level, Colorado Springs is even higher than Denver, which is commonly called the Mile High City for its 5,280-foot elevation. What this means for visiting backpackers is that you need to train for cardio even more. Depending on where you are coming from, your body will not be used to the lessened amount of oxygen in the air at this elevation.

Cardio exercises train your body to use oxygen more efficiently, which is key for hiking at elevation. This can help you prevent muscle cramps, keep you from fatiguing early, and even combat the symptoms of altitude sickness. The best way to train for this is by going on some day hikes near you and working up to higher elevations and longer mileage.

Endurance training for multi-day backpacking in Colorado Springs requires at least an hour of steady-state cardio every other day. Steady-state cardio involves breaking a sweat and maintaining the exercise with minimal rest. You can choose activities that suit you best while prioritizing low-impact exercise. Endurance training in the form of rowing, swimming, or biking will help protect your joints from overuse while giving your lungs the workout they need.

Strength Training for Multi-Day Hikes

Many people do not consider strength training a key part of preparing for backpacking, but it is. If your muscles are not strong enough for the pack you are carrying or the steep incline you are ascending, you will surely get burnt out more quickly. Weight training is a great way to build muscle endurance for multi-day backpacking trips. 

There are two main groups to consider for strength training. The first is your legs for hiking, and the second is your core and upper body for carrying your backpack. Great lower body exercises will focus on stability for your ankles, knees, and hips. You can strengthen your feet with arch workouts like towel scrunches, your lower legs with heel raises, and your upper legs with squats and lunges. Don’t forget to include hip exercises like hip thrusts and deadlifts to build stability in your lower core. You can find more exercises in our guide on how to train to hike a Colorado Fourteener.

Core Exercises for Pack Training

The second area to focus on for strength training is the upper body. When you go on your first multi-day backpacking trip, you will be surprised at the heft of your pack. Backpackers have to carry a lot of weight, including shelter, food, supplies, and more. Luckily, the pack will get lighter as you eat through your supplies. 

To properly prepare for a backpacking journey, you should strengthen your core, shoulders, neck, and back muscles. Lower back exercises are important for preventing injury when carrying heavy loads. You can lie flat on your stomach and raise one arm and the opposite leg. Repeat this exercise from a tabletop position, resting on your hands and knees. Core strengthening like ab workouts and planks are also essential for building upper body stability.

The best way to prepare to carry a pack is, simply, to carry one. Pack training involves venturing out on your training hikes with a pack stuffed full of weight. Depending on the length of your multi-day backpacking trip, your pack could be twenty to forty pounds. Keep in mind that it is not recommended to carry a pack of more than twenty percent of your body weight. With this in mind, you can load your backpack with some heavy household items and practice hiking with it. If you are training by yourself, be sure to follow the best practices for staying safe when hiking alone.

Flexibility Training for Hiking

The final, and arguably most important, part of backpacking training is stretching. While you should alternate cardio and strength training days, you should stretch daily after all of your workouts. You should also begin your workouts with some dynamic stretches but only after you have warmed up for five to ten minutes.

When working on flexibility for backpacking, it is important to focus on the legs and back. You will want to ensure that your legs stay as flexible as possible through miles and miles of hiking. Flexibility training is important for preventing joint injury. This is because when your muscles are overly tight, they pull on your joints and cause stress. Keeping your legs loose will protect your knees and ankles from feeling worn out on your hike.

In addition to the basic toe touches, you will want to stretch your calves, hamstrings, quads, IT bands, and hip flexors. Each stretch should last twenty seconds with a continual effort to reach your limit (without injuring yourself). If you have any previous injuries, be sure to give those areas some extra attention. Any foot pain or arch tightness will require you to stretch and strengthen in order to prepare for the innumerable steps you will take on your backpacking trip.

Final Thoughts

Our beautiful state of Colorful Colorado is one of the most scenic places to take a multi-day backpacking trip. Every beginner can learn how to train for hiking and prepare themselves for this adventure of a lifetime. With a couple of months of dedicated training, you will be ready to take on the elevation and mileage of a multi-day hike in Colorado. Happy hiking!

What Should I Do If I Get Lost While Hiking?

The best hikes may feel like a carefree walk through the woods, but it is important to be prepared and stay sharp anytime you go hiking. Losing yourself in your thoughts could cause you to actually get lost. That is why it is important to know what to do if you get lost hiking. We will go over hiking safety and how to get yourself out of a sticky situation on the trail.

Hiking Safety: Before You Go

Anytime you go hiking, you should plan your route in advance and be sure to bring a physical map and a compass. It is easy to overlook these elements since cell phones have this information. However, you may not have service, your battery could die, or you could lose or damage your phone. It is essential to have a form of old-school navigation, so you do not have to rely on technology for your safety. If you are not able to find a physical map, you can take a photo on your phone of the map at the trailhead. Also, try to memorize your route, including the color trails and turning points.

Pack for Safety

In addition to navigation, there are a few hiking safety essentials you should always have in your day pack. Be sure to carry a flashlight, matches, emergency shelter, and extra food and water. You never hope to be stuck on the trail longer than expected, but it could happen. If you get lost, you will be glad to have this gear to keep you safe overnight. An easy emergency shelter to carry would be a tarp and rope. Ready shelters like emergency tents are very affordable, pack light, and can be lifesaving. Especially if you are hiking in cold weather, it is essential to have at least an emergency blanket to stay warm and safe when hiking in winter

Be Smart when Hiking Solo

If you are planning to hike alone, there are a few more important steps to take before you leave. If you are wondering if it is safe to hike alone, you will feel better once you’ve taken these precautions to protect yourself. The most essential thing is to tell someone where you are going. You can send a loved one your planned route or even give them access to Find my Friend. Sharing your location this way is not a perfect solution if your phone dies or loses service, but it can be a start if someone needs to find you. You should also let them know when you plan to be back and then check in when you finish your hike. 

When hiking solo, it is even more important to plan in advance. Check the weather and make sure you will not be caught unaware. Choose a route that leaves you plenty of daylight left. You may decide to start small with easier routes that are well-populated. While it is nice to push yourself on a hike, make sure you know your limits and will not be left totally exhausted. Getting back to the trailhead with a little energy left over is safer than the alternative.

Photo by Janis Oppliger on Unsplash

How to Avoid Getting Lost on a Hike

There are a few helpful hints that can keep you safe while on trail. First, plan your route in advance and keep an eye on trail markers, so you stay on the right path. Usually, trail markers will be colored portions of trees, a bit higher than eye level, or signposts at turn-off points. Depending on the trail, markers may be close enough to see two at a time or farther apart but less than a quarter mile. You should note when you see one, either by time or mileage. This way, you can be watchful that you do not continue hiking too far if you haven’t seen one in a while. 

Anytime you come to a fork in the trail, it is important to take a second and think about the path you had in mind. Note some landmarks like nearby rocks or trees that will help you recognize the turn on your trip back. You can even take photos, build your own cairn with rocks, or set a couple of sticks as arrows. When you make your return, be sure to dismantle these, so you leave no trace.

What to Do If You Get Lost Hiking

When you realize you are lost on the trail, just remember the acronym STOP. You need to stop walking, think, observe your surroundings, and plan. With these four actions, you can get yourself back on track and make sure you get out safely.

Step One: Stop

The S conveniently stands for stop. The first thing to do is stop walking so you can assess. Make sure to breathe and maintain your calm. It is essential that you not panic. While it is a normal reaction, you need to be able to keep your head clear and figure out what to do. You can practice breathing exercises to keep your system calm. Take a second to rest, have a snack and some water, and then get to work.

Step Two: Think

The T stands for Think. Try to retrace your steps in your mind. Did you miss a turn? Is there a landmark you remember seeing that you need to look out for? It is essential that you do not keep walking until you have a plan. Take a look at your watch and guess where you expected to be at this point. Should you be circling back by now? Are you not quite to the next turn?

Step Three: Observe

Take a look around and see if you can spot any signage on a post or a tree. You may find someone else’s cairn on the ground or any sign of development like logs used for trail sides or steps. If you are able to figure out what trail you are on, take a look at your map. You might be able to figure out approximately where you are based on where you meant to be and what is around you. Be sure to look further into the distance, too. If the map shows that the trail increases in elevation or curves around a lake, look around to see if you can match these features with the world around you.

Step Four: Plan

When you realize you are lost, there is one decision to be made. Do you turn around and try to retrace your steps or keep going and try to reconnect with a new trail? Depending on how far you have walked already, it may not make sense to turn around. You should also consider the time of day and how you are feeling. If it is late or you are injured or exhausted, you may choose to take a rest or set up a shelter for the night. If you were with a group who will notice your absence, it is always best to stay put and wait to be found.

Photo by Annie Spratt on Unsplash

How to Find a Trail If You Get Lost While Hiking

If you decide to keep walking, there are a few key things to keep in mind that can help direct your path. It can be a good decision to follow a stream or drainage downhill. This may end up leading to a road or trail; however, this could also be difficult and dangerous. If you think you see a road or river in the distance, but there is a steep slope in your way, do not attempt to hike something dangerous. Instead, avoid injury and follow the landmark from a distance.

When you are hiking while lost, you need to remember to take care of yourself. It will be exhausting and stressful to hike longer than expected. Be sure to rest early and often and keep your energy up with snacks and hydration. You should avoid walking in the middle of the day if it is hot out as you do not want to risk dehydration or sunstroke. Be sure to rest in the shade and keep your eyes peeled for signs of a trail.

How to Set Up An Emergency Shelter When Lost on a Hike

There are a lot of circumstances in which it might make sense to set up camp for the night and find your way home in the morning. If you are feeling tired or if you get injured, it is important to rest so you are in your best shape for the hike back. You do not want to keep hiking and risk injury or get yourself more lost because you are not thinking straight.

If it is starting to get dark, you should find a place to set up camp. Hiking in the dark is dangerous, as you are likely to miss important markers and could encounter nocturnal animals. Instead, try to find a natural shelter like a rock outcropping or stand of trees. This natural protection can keep you sheltered from wind and rain during the night.

Lastly, if you get lost while hiking with a group or on a guided tour, it is better to stay in one place and wait for them to find you. You do not need to worry that people don’t know you are missing. Therefore, you do not need to find your way back on your own. If both you and your search party keep walking, you run the risk of getting more lost. Instead, set up camp and relax. It is easier for others to find you if you stay put and make a fire or use something bright as a flag.

Final Thoughts

Even avid hikers may find themselves slightly disoriented at times. Less popular trails and parks may not be well maintained, and markers can be confusing, vandalized, or altogether missing. The most important thing to do if you get lost hiking is to stay calm and remember the acronym STOP. With these helpful tips, you should be able to get your bearings and finish your fun hike with no further issues. Stay safe, and happy hiking!

Can I Take Kids Hiking?

Are you hoping to get out this spring and enjoy nature with your little ones? If so, you may be wondering if taking kids hiking around Colorado Springs is safe. The answer is that there are plenty of ways to get your children outdoors and on the trail. With proper planning and packing, you can be sure to have a safe and enjoyable time hiking with kids.

Photo by Fas Khan on Unsplash

The Best Trails for Taking Kids Hiking

The first thing to do when planning a hike with kids is to find a suitable trail. First, opt for less strenuous hikes without too much vertical gain as steep hikes can be fall hazards for kids. Next, depending on your preference, you may pick a place that allows dogs and horseback riding. Or you might decide it would be safer to do a pedestrian-only trail, so you don’t have to worry about mountain bikers or e-bikes.

In terms of exact mileage or difficulty rating, you can start easy and work your way up. There are plenty of excellent short hikes near Colorado Springs. When your kids are young and just starting out, you want to make hiking fun and achievable. As an avid hiker, you may have mountains you want to conquer or a mile count you want to meet. But when hiking with children, it is important to let go of these expectations and focus on cultivating an engaging and enjoyable experience.

Setting Alternate Goals and Expectations

Instead, you may choose a hike based on something you know your kids like, such as a waterfall or a popular bird watching spot. You can also make a game of the kids counting mushrooms or picking wildflowers. These alternate goals give the family something to look forward to that is not based on mileage or elevation gain.

Finally, a good rule of thumb for hiking with little kids is that the trip will take at least double what it otherwise would. Your kids may need to rest, want to go off and explore, or even decide to turn around early. Loop trails are a good idea for kids as they have a clear end point and unique views the entire way. You may also find a park that has branching trails from the same starting place. This is a good way to add to your hike on the fly, depending on how the kids are feeling.

Photo by Annie Spratt on Unsplash

What to Pack when Hiking with Kids

Once you have picked out where to go and when, you will need to pack. Here are some key tips on what to pack for a day hike that will ensure you have a safe and fun time. First, in order to stay safe on the trail, you should always bring a first aid kit, matches, a flashlight, and an emergency shelter like a tarp and rope. Next, keep comfortable on the trail with essentials like sunscreen, rain jackets, and cold-weather gear. If the weather sours, your kids will surely want to turn around and get back to the car, and the right gear will keep them happy on the way.

If you are taking a short hike with little ones, you may not think navigation is necessary. Maybe you know the route, or maybe there are other people around. However, kids like to go off and explore, and your phone might not work deep in the forest. Bringing a physical form of navigation like a map can be a lifesaver when you lose track of your original trail.

Don’t Forget the Snacks 

One of the most important things to pack for hiking with kids is extra food. Parents always know to carry snacks wherever they go, and the trail is no exception. Even though you may not get hungry on the route, snacks are essential for young kids. You can use a treat as a reward for reaching a trail checkpoint or as fuel when the mood and energy start to falter. Be sure to pack plenty of water, enough to last the whole day, and encourage your kids to hydrate on water breaks.

Photo by Greg Rosenke on Unsplash

How to Hike with Kids

In terms of the actual experience of hiking with your children, be sure to check out the guide on how to hike with kids. This has great ideas for how to keep kids engaged on the trail, everything from imaginative games and goals to responsibilities and rewards. One essential tip is to plan a fun stop on the way home. A detour for ice cream is the perfect way to ensure they remember the trip pleasantly, no matter what happens with the weather or the hike. You can narrow down your search for the perfect hiking trail this way by planning to incorporate a nearby toy store or candy shop visit afterwards.

Education and Interaction on the Trail

The most important thing you can do is keep your mind and imagination open. Remembering to view the world as brand new will allow you to experience the wonder and beauty of nature as your kids do. If you or the little ones are interested in birds or trees or mushrooms, you can bring along a guidebook and plan some time for identification. Having educational resources on hand and teaching kids about the world around them will surely improve everyone’s experience.

Another great way to ensure an interactive hike is to check out the Junior Ranger programs offered at most state and national parks. Rocky Mountain National Park, Garden of the Gods, and other popular spots have programming for kids that is often free of charge. You can also visit your local library to get a free Junior Ranger Nature Pack. These booklets for kids ages 7-13 have educational materials to be used at events throughout the year. Participating parks include Garden of the Gods, Stratton Open Space, Red Rock Canyon, and more.

Final Thoughts

Making hiking a family activity is a great way to bond and get everyone exercising. If you are just getting started and looking for extra help, Broadmoor’s three-hour guided hiking tour is available to kids of all ages. You can get tips from a local professional guide and see how they keep the little ones engaged and motivated on the trail.